How to Trim Earmold Tubing
|
|
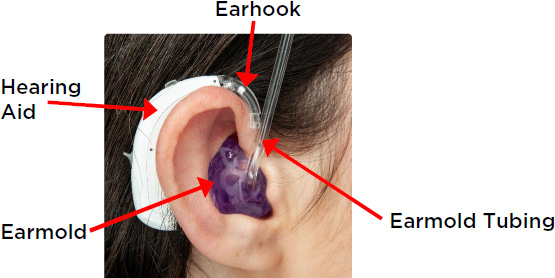
New earmolds come with long tubing so you can cut to size. Follow these steps to trim your child’s earmold tubing to best secure their hearing aid. Remember, it’s always best to measure twice, cut once. View video instructions: youtube.com/watch?v=YF4N6GT2Vnc
|
1. Line up long tubing with hearing aid earhook
|
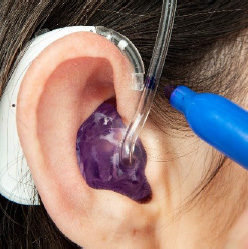
2. Mark tubing
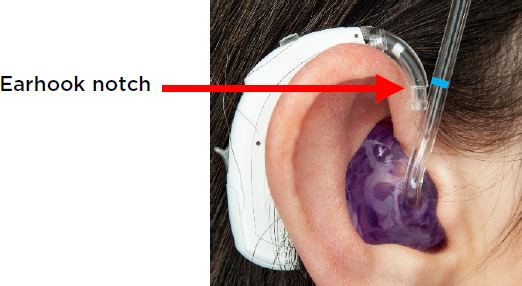
With a pen or Sharpie, mark where the tubing just hits the top of the earhook notch.
|
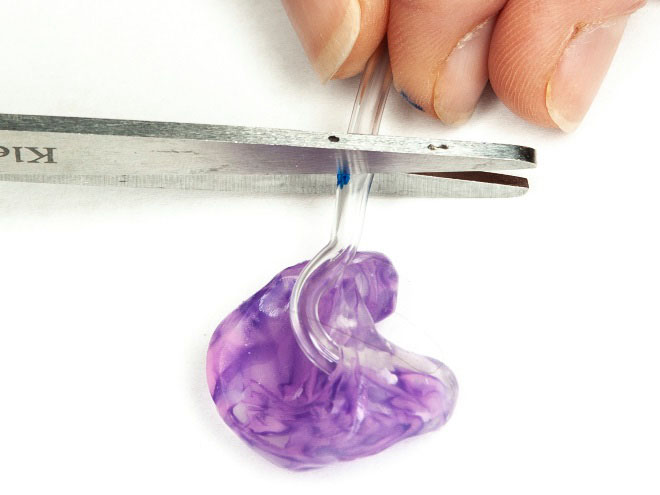
3. Cut tubing
|
4. Attach newly trimmed tubing to the earhook of the hearing aid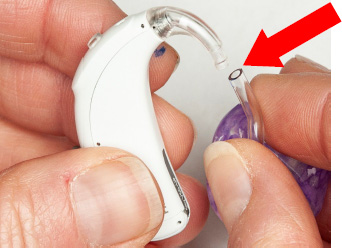 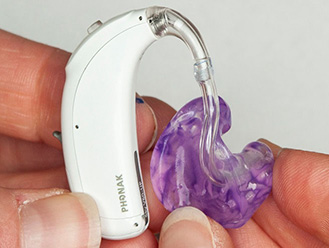 Attach newly trimmed (short) tubing from the earmold to the top notch of the earhook of the hearing aid. Sometimes the new tubes are too tight to fit on the earhook. You may need to gently stretch the trimmed tubing with a tool, such as needle nose pliers, then attach tubing to the earhook. |
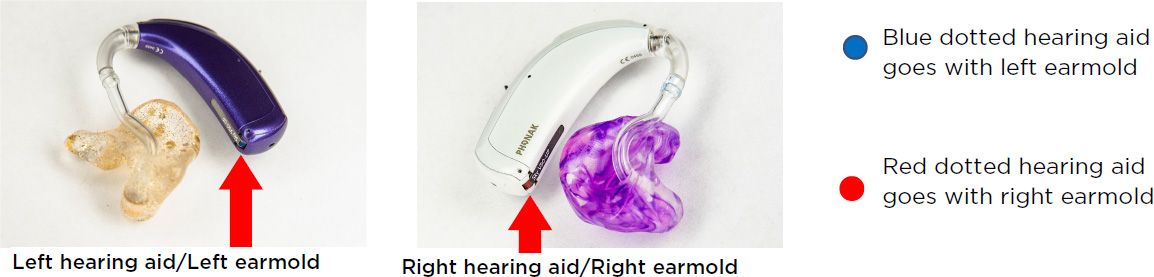
5. Check that the correct earmold is attached to the correct hearing aid
|
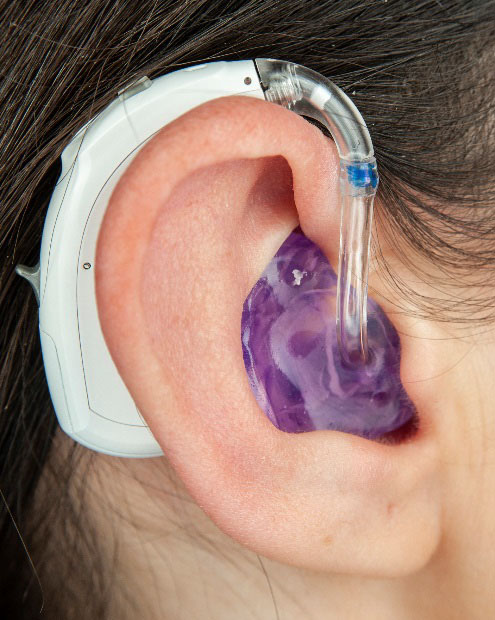
6. Check fit
Check the fit. The image at left shows a good fit. If the tubing is too long, you will notice the hearing aid “flopping off” easily. If the tubing is too short, the ear will develop a red mark. |
|
To Learn More
Free Interpreter Services

|